
When it comes to roof installation, the process involves several critical steps to ensure a durable and effective roof. Each step is meticulously planned and executed to provide maximum protection and longevity. Below, we will guide you through the comprehensive steps involved in the roof installation process.
Pre-Installation Planning
Pre-installation planning is a crucial phase in any project, ensuring that all necessary steps are taken to prepare for a successful installation process. It encompasses a comprehensive assessment and strategizing stage where meticulous attention is given to every detail before the actual installation begins.
During pre-installation planning, various aspects are carefully evaluated and addressed. This includes assessing the site conditions, understanding specific requirements and constraints, determining the scope of work, and defining project timelines and milestones. Additionally, pre-installation planning involves coordinating with stakeholders, such as clients, contractors, and vendors, to align expectations and establish clear communication channels.
One of the primary goals of pre-installation planning is to mitigate potential risks and challenges that may arise during the installation phase. This involves conducting thorough risk assessments, identifying potential obstacles, and developing contingency plans to address any unforeseen issues. By anticipating and addressing potential challenges in advance, pre-installation planning helps minimize disruptions and delays, ultimately ensuring a smoother and more efficient installation process.
Removing the Old Roof
Before the new roof can be installed, the old one must be removed. This step includes:
Tearing Off the Old Roof: Removing the existing roofing materials down to the roof deck.
Disposal: Properly disposing of the old materials to ensure a clean working environment.
Deck Inspection: Inspecting the roof deck for any damage or rot that needs repair before proceeding.
Roof Deck Preparation
Roof deck preparation involves making sure the deck is ready to support the new roof. This includes:
Deck Repair: Fixing any damaged areas of the roof deck to provide a solid foundation.
Installation of a Drip Edge: Installing a metal drip edge along the edges of the roof to direct water away from the fascia and prevent leaks.
Installing the Underlayment
The underlayment acts as a secondary barrier against water and other elements. Steps include:
Laying the Underlayment: Rolling out and securing the underlayment over the entire roof deck.
Sealing the Seams: Ensuring all seams are properly sealed to prevent water infiltration.
Installing Flashing
Flashing is critical for preventing leaks around roof penetrations such as chimneys, vents, and skylights. This step includes:
Placement: Installing flashing around all roof penetrations and along valleys to direct water away from these vulnerable areas.
Sealing: Ensuring all flashing is securely fastened and sealed.
For exceptional Best Roofing Contractor in Warren, MI, look no further than our team. Renowned for our expertise, quality craftsmanship, and commitment to customer satisfaction, we handle everything from roof installations to repairs with utmost precision. Trust us to protect and enhance your home with top-tier roofing solutions.
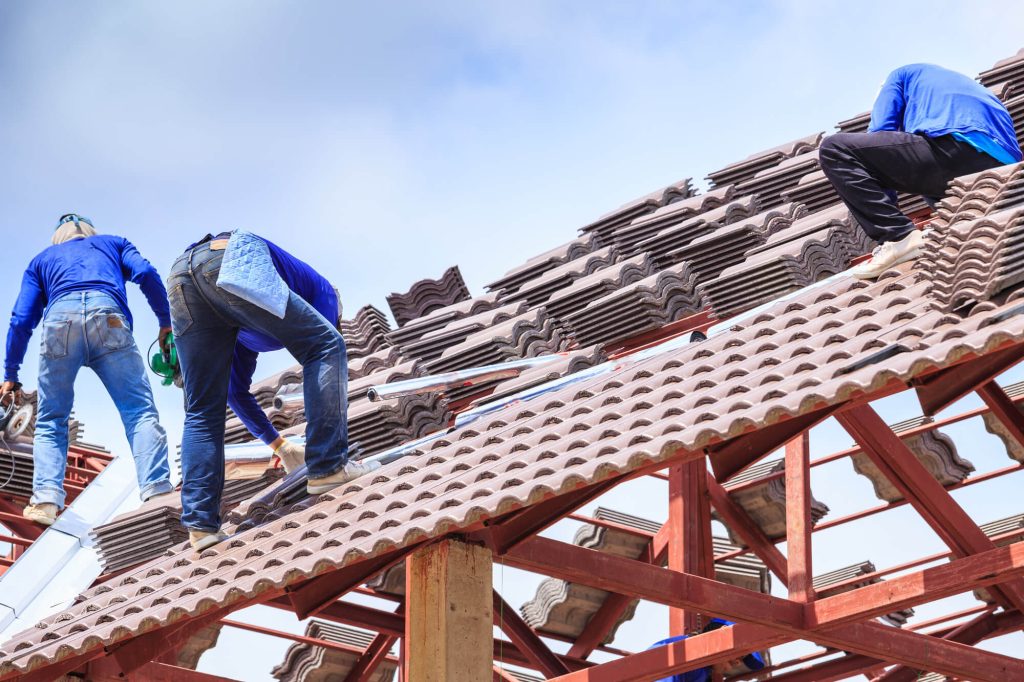
Installing the Roofing Material
The installation of the roofing material is the most visible step in the process. It involves:
Starter Shingles: Laying the starter shingles along the edges of the roof to provide a secure base for the rest of the shingles.
Main Roofing Material: Installing the chosen roofing material (e.g., asphalt shingles, metal panels) in a methodical manner to ensure even coverage and alignment.
Cutting and Fitting: Trimming and fitting the roofing material around roof penetrations and edges for a clean finish.
Installing Ridge Caps
Ridge caps provide additional protection and a finished look to the roof. This step includes:
Placement: Installing ridge caps along the roof’s ridges.
Securing: Ensuring the ridge caps are securely fastened to prevent wind and water damage.
Final Inspection and Cleanup
Once the installation is complete, a thorough final inspection and cleanup are necessary:
Inspection: Checking the entire roof for any issues or areas that need attention.
Cleanup: Removing all debris and ensuring the property is left clean and safe.
Post-Installation Maintenance
Post-installation maintenance is key to extending the life of the roof. Recommendations include:
Regular Inspections: Conducting periodic inspections to identify and address any potential issues early.
Gutter Cleaning: Keeping gutters clean to prevent water backup and damage.
Minor Repairs: Promptly fixing any minor damage to prevent it from becoming a major problem.
Conclusion
The roof installation process is intricate and involves multiple steps to ensure a high-quality, durable roof. From initial planning and removing the old roof to installing the new materials and conducting final inspections, each step is vital for a successful installation. Proper maintenance following the installation will help extend the life of your roof and protect your investment.